Key Points:
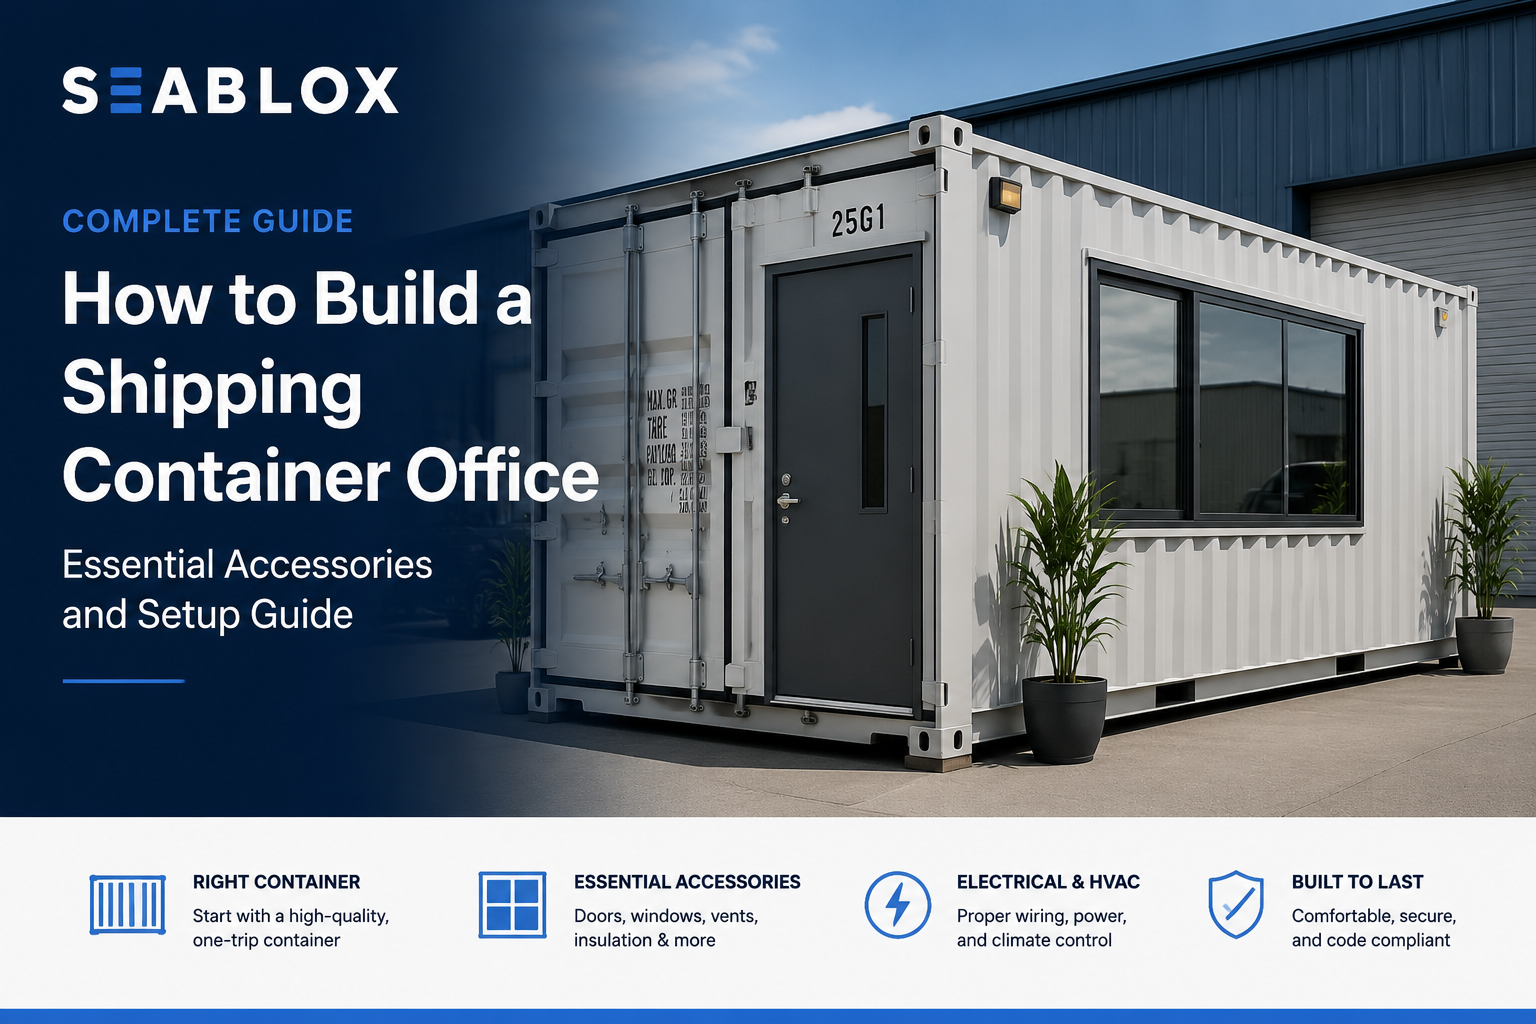
- To build a shipping container office, start with a high-quality one-trip container that is free from leaks, excessive rust, and structural damage.
- Essential shipping container office accessories include a man door, windows, vents, insulation, electrical components, interior wall panels, and durable flooring.
- Proper ventilation and 2-inch closed-cell spray foam insulation help maintain comfortable indoor temperatures and improve energy efficiency.
- Electrical wiring for outlets, lighting, heating, and air conditioning should be completed before finishing the interior walls and flooring.
- Before using the office, complete a professional electrical inspection and install the final HVAC, lighting, and electrical fixtures.
Building a shipping container office may seem straightforward at first glance. Many people assume that converting a container into a workspace simply requires adding a desk, running power, and moving in. In reality, a comfortable, professional, and code-compliant container office requires careful planning and the right combination of accessories, materials, and upgrades. Choosing the wrong components—or skipping critical steps – can lead to poor ventilation, uncomfortable temperatures, costly repairs, and expensive modifications later on.
Whether you’re creating a construction site office, remote workspace, sales office, security station, or portable business headquarters, understanding how to build a shipping container office starts long before the first cut is made. The foundation of every successful shipping container office conversion begins with selecting a high-quality container. Most experts recommend a one-trip shipping container because it offers the best structural integrity, minimal wear, and significantly lower risk of leaks, corrosion, and hidden damage that could affect the long-term performance of your office.
Once the right container has been selected, the focus shifts to the accessories and systems that transform an empty steel box into a functional work environment. Essential components such as container doors, windows, ventilation systems, insulation, electrical infrastructure, interior wall finishes, flooring, and climate control equipment all play an important role in the final result. Each element contributes to employee comfort, energy efficiency, workplace safety, and overall usability. Missing even one of these key upgrades can dramatically impact the performance and lifespan of the finished office.
The good news is that building a shipping container office doesn’t have to be complicated when you follow a proven process. In this guide, we’ll walk through the essential accessories needed to convert a shipping container into an office, explain why each component matters, and highlight practical solutions that can help you avoid common mistakes. Whether you’re planning a simple office conversion or a fully customized workspace, this article will provide a clear roadmap for turning a standard shipping container into a comfortable, durable, and professional office environment.
How to Build a Shipping Container Office: Start With the Right Container
The first and most important step in learning how to build a shipping container office is selecting the right container. Every accessory, modification, and interior upgrade depends on the condition of the container itself. While it may be tempting to save money by purchasing an older unit, structural problems can quickly turn into expensive repairs. A damaged container can create issues with insulation, electrical installation, moisture control, and overall longevity. For most office conversion projects, a one-trip shipping container is considered the best option because it offers the highest level of structural integrity and requires fewer repairs before construction begins.
When evaluating a shipping container for office conversion, look for the following:
- Minimal or no rust on the roof, walls, and corner posts.
- No visible leaks, water damage, or signs of standing moisture.
- Doors that open and close properly without excessive force.
- Straight side walls and roof panels with minimal dents.
- A structurally sound floor that is free from major damage.
- One-trip condition whenever possible for the best long-term results.
A high-quality container creates a better foundation for every stage of the project, from installing windows and doors to adding insulation and electrical systems. Starting with a leak-free, structurally sound container may require a slightly larger investment upfront, but it often reduces labor costs and maintenance expenses over the life of the office.
Essential Shipping Container Office Accessories for a Functional Workspace
After selecting the container, the next step is determining which shipping container office accessories are needed to transform it into a comfortable and productive workspace. An empty container is simply a steel shell. To create an office environment that supports daily operations, you’ll need accessories that improve accessibility, natural lighting, airflow, comfort, and security. Choosing the right components early in the project can also simplify installation and reduce the need for costly modifications later.
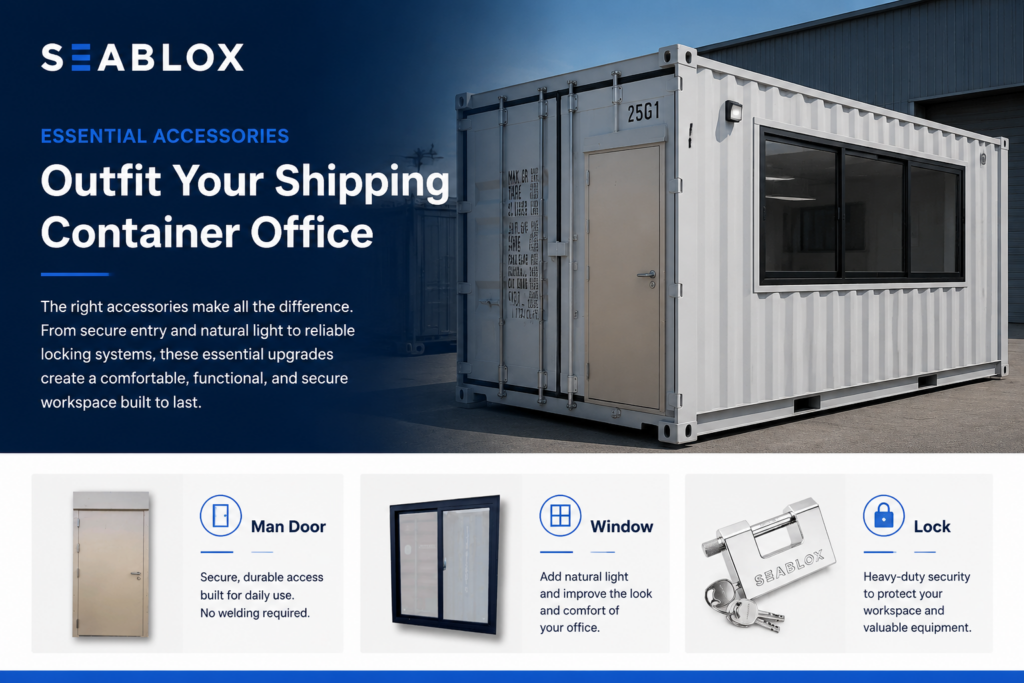
The most important shipping container office accessories include:
- A container man door for safe and convenient daily access.
- One or two container windows to maximize natural light.
- Ventilation vents to improve airflow and reduce heat buildup.
- Locking and security hardware to protect valuable equipment.
- Insulation materials to improve energy efficiency and comfort.
- Interior wall systems for a professional finished appearance.
- Electrical components for lighting, outlets, and office equipment.
- HVAC equipment for heating and cooling throughout the year.
TIP: While a single window can provide natural light, two windows often create a brighter and more comfortable office environment while improving airflow when combined with proper ventilation.
Planning accessories before construction begins helps ensure that doors, windows, electrical wiring, insulation, and interior finishes work together as a complete system. It also allows contractors and installers to coordinate openings, framing, and utility connections before the interior walls are closed, saving both time and money during the conversion process.
How to Insulate a Shipping Container Office for Year-Round Comfort
Proper insulation is one of the most important investments you can make when building a shipping container office. Since shipping containers are constructed from steel, they absorb and transfer heat very quickly. Without insulation, the interior can become extremely hot during the summer and uncomfortably cold during the winter. In addition to improving comfort, insulation helps reduce energy consumption, minimizes condensation, and creates a more stable indoor environment for employees, equipment, and office furniture.
When selecting insulation for a container office, consider the following advantages of closed-cell spray foam:
- Creates a highly effective thermal barrier.
- Helps prevent condensation from forming on steel walls and ceilings.
- Improves energy efficiency and reduces HVAC operating costs.
- Adds additional rigidity to the container structure.
- Seals small gaps and hard-to-reach areas.
- Provides long-lasting performance with minimal maintenance.
- Works well in both hot and cold climates.
TIP: Many container conversion professionals recommend 2-inch closed-cell spray foam insulation because it offers excellent thermal performance while preserving valuable interior space.
A properly insulated office feels more comfortable throughout the year and places less strain on heating and cooling systems. While there are several insulation options available, closed-cell spray foam remains one of the most popular choices for shipping container office projects because it combines insulation, air sealing, and moisture protection in a single solution.
Interior Framing and Wall Panels for a Shipping Container Office Conversion
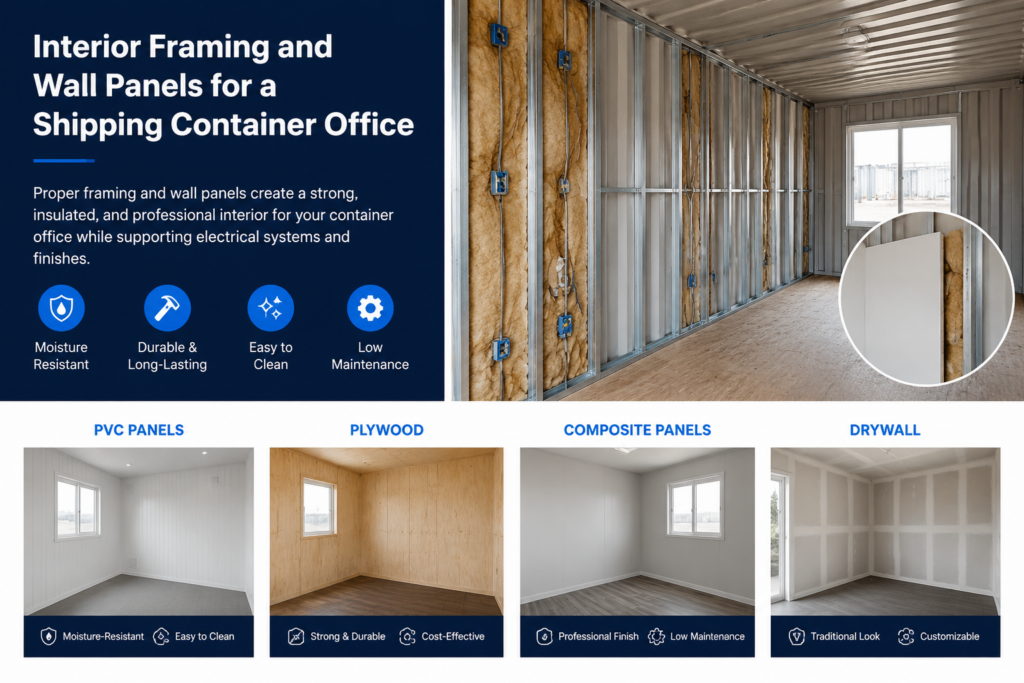
Once insulation has been installed, the next step is creating the interior structure that will support wall finishes, electrical wiring, outlets, switches, and other office components. For many projects, 2×4 framing remains the simplest and most cost-effective approach. It provides a strong framework for attaching interior panels while creating space for electrical systems and future upgrades. Proper framing also helps transform a steel container into a workspace that feels more like a traditional office.
Several wall finish materials are commonly used in a shipping container office conversion:
| Material | Durability | Maintenance | Appearance |
| PVC Panels (Trusscore Style) | Excellent | Low | Clean and Modern |
| Plywood | Good | Moderate | Practical and Industrial |
| Composite Panels | Good | Low | Professional |
| Drywall | Moderate | Higher | Traditional Office Appearance |
TIP: PVC wall panels are often considered one of the best options for container offices because they are moisture-resistant, durable, easy to clean, and require very little maintenance over time.
The combination of quality framing and durable wall panels helps create a professional working environment that can withstand daily use. Whether you choose PVC panels, plywood, or another finish material, the goal is to build an interior that looks professional, protects the insulation and electrical systems, and provides a comfortable space for years of operation.
How to Wire a Shipping Container Office for Lights, Outlets, and HVAC
A reliable electrical system is one of the most important components of any shipping container office. Before interior wall panels are installed, all wiring should be carefully planned and completed. This stage determines how effectively the office will support computers, lighting, heating, cooling equipment, and everyday business operations. Proper electrical planning also helps avoid costly modifications after the walls have been finished.
Before closing the walls, most shipping container office projects should include wiring for the following:
- General-purpose electrical outlets.
- Interior LED lighting fixtures.
- Exterior security lighting.
- Computers, printers, and office equipment.
- Internet and networking systems.
- Baseboard heaters if required.
- Air conditioning or heat pump systems.
- Security cameras and alarm systems.
- Future electrical expansion needs.
TIP: Installing extra outlets during construction is usually much less expensive than reopening finished walls after the office is completed.
Hiring a licensed electrician is strongly recommended for container office projects. Professional installation helps ensure the system meets local electrical codes while providing the capacity needed for current and future office requirements. A properly designed electrical system improves safety, functionality, and long-term reliability.
How to Complete a Shipping Container Office Inspection and Final Setup
After electrical work has been completed, the next step is preparing the shipping container office for inspection and final commissioning. Inspections help verify that wiring, grounding, panels, outlets, and other electrical components have been installed safely and according to applicable requirements. Completing this process before occupancy can help prevent delays and ensure the office is ready for daily operation.
Before opening the office for use, verify the following systems:
- Electrical panel installation.
- Outlet and lighting circuit operation.
- Grounding and electrical safety requirements.
- Air conditioning system performance.
- Heat pump or heating equipment operation.
- Ventilation system functionality.
- Interior lighting fixtures.
- Local code and inspection requirements.
TIP: Intertek is one example of an organization that may perform electrical inspections and certification services for container-based structures, depending on project requirements and local regulations.
Once the inspection process is complete, final fixtures can be installed and tested. This includes lighting, outlets, air conditioning equipment, heat pumps, and any remaining electrical accessories. At this stage, the shipping container office begins to function as a fully operational workspace that is comfortable, efficient, and ready for everyday business use.
Common Mistakes When Converting a Shipping Container Into an Office
Building a shipping container office can be a straightforward project when each step is planned correctly. However, many first-time builders encounter avoidable problems that increase costs, delay construction, or reduce the comfort and functionality of the finished workspace. Understanding these common mistakes can help ensure your container office conversion stays on schedule and delivers long-term value.
Some of the most common mistakes include:
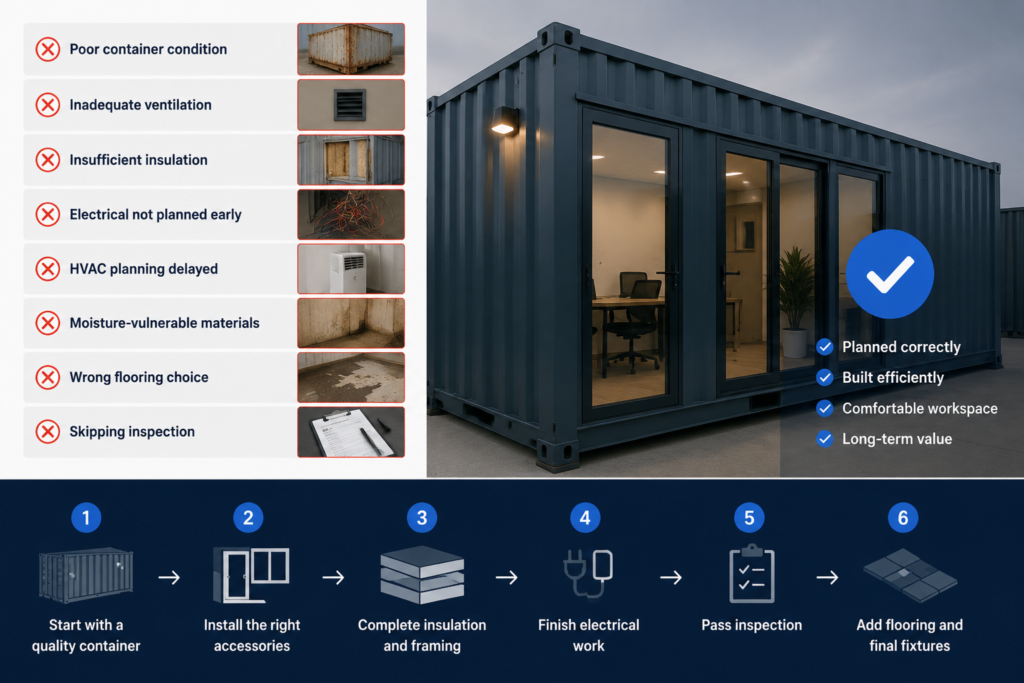
- Purchasing a container with leaks, rust, or structural damage.
- Installing only one vent or skipping ventilation altogether.
- Using insufficient insulation or choosing the wrong insulation type.
- Failing to plan electrical wiring before closing the walls.
- Delaying HVAC planning until the project is nearly complete.
- Using interior materials that are vulnerable to moisture damage.
- Choosing flooring that cannot withstand long-term commercial use.
- Skipping professional electrical inspection and certification.
TIP: Most expensive container office problems can be traced back to poor planning during the early stages of the project. Investing more time in design and preparation often saves significant money later.
The best container office projects follow a logical sequence: start with a quality one-trip container, install the right accessories, complete insulation and framing, finish electrical work, pass inspection, and then move on to flooring and final fixtures. Taking a systematic approach helps create a workspace that is comfortable, efficient, and built to last.
Building a Shipping Container Office That Lasts
Creating a successful shipping container office requires more than simply modifying a steel container. The best results come from combining a high-quality one-trip container with carefully selected accessories, proper insulation, professional electrical work, durable interior finishes, and reliable climate control. Each component plays an important role in transforming a cargo container into a productive and comfortable workspace.
By following a step-by-step process, you can avoid common mistakes and create an office that performs well in a variety of environments. From installing doors, windows, and ventilation systems to completing insulation, framing, flooring, and final electrical inspections, every stage contributes to the long-term durability and usability of the finished structure.
If you’re planning to build a shipping container office, choosing the right accessories from the beginning can make the entire conversion process easier and more successful. Explore our selection of shipping container doors, windows, vents, and other container accessories to find the components you need to create a professional office space built for years of reliable use.